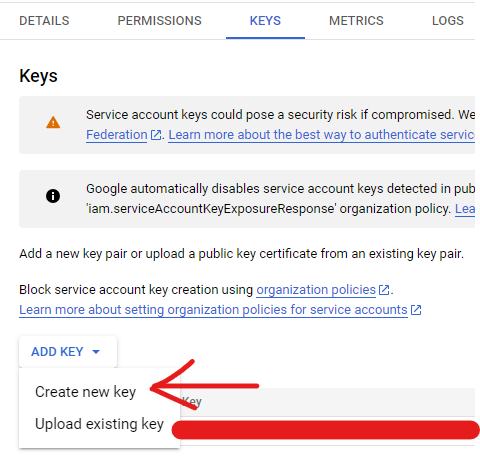
1.Navigate to the Posts or Pages section in the WordPress admin panel.
2. Click on the post you wish to edit, and you will be taken to its editing page.

3. In the URL, you will see the post/page ID. For example, the ID for this post is 216.
1.Navigate to the Posts or Pages section in the WordPress admin panel.
2. Click on the post you wish to edit, and you will be taken to its editing page.
3. In the URL, you will see the post/page ID. For example, the ID for this post is 216.
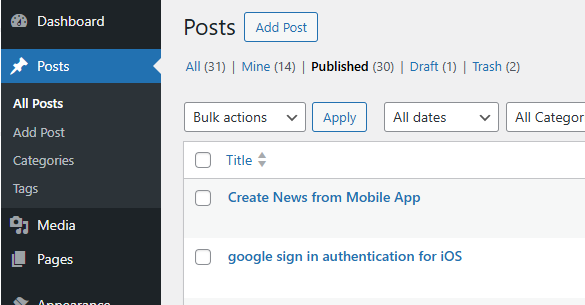
Users can submit news directly from the app. To enable this feature, the administrator must grant permission to specific user roles.
Navigate to Top Stories > General > Allow Users to Post News and select the desired user roles.
Once enabled, users will see two menu options in the app: Create Post and Manage Post.
After a user publishes a news post, it will remain in a pending state. The administrator must manually change its status from pending to published for it to appear in the app.


If enabled, the feeds will be crawled using the default WordPress Cron.
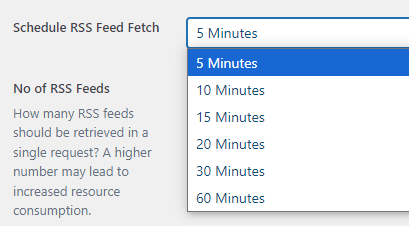
Choose the time frame for fetching the RSS feeds.
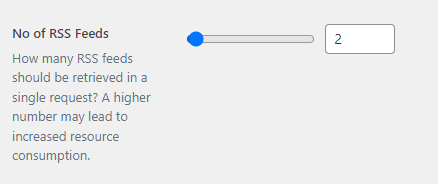
Specify the number of posts to retrieve in a single request. Keep in mind that a higher number may impact performance.
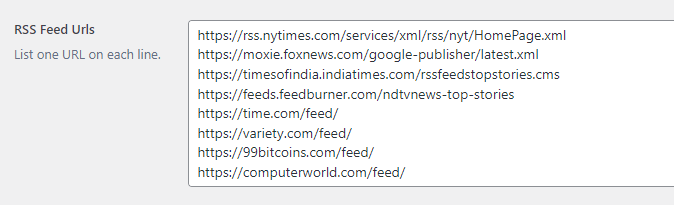
Paste each RSS feed URL on a separate line.
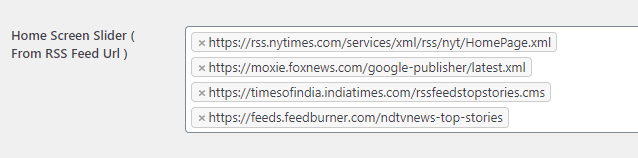
If you want the posts to appear on the home screen slider, select the feed URLs. When posts are imported from these URLs, they will also be displayed in the home slider.
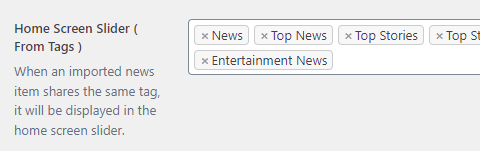
When an imported news item shares the same tag, it will be displayed in the home screen slider.
Note: If a news item is displayed in the home screen slider, it will also appear in the category slider.

When an imported news item shares the same tag, it will be displayed in the category screen slider.
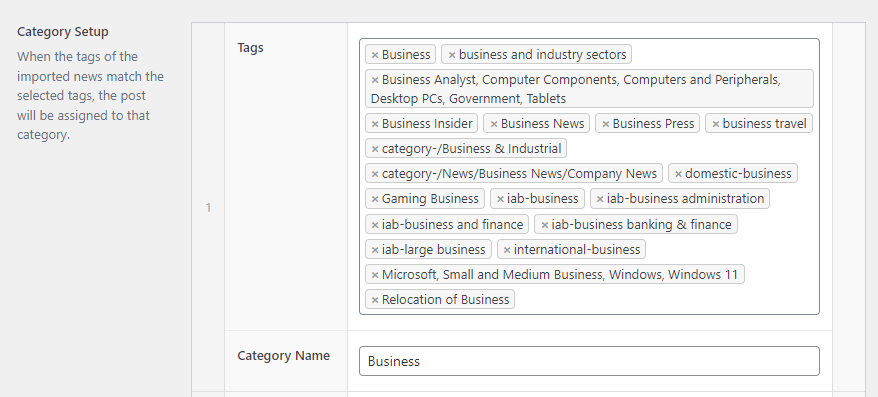
When the tags of the imported news match the selected tags, the post will be assigned to that category.
If you have multiple tags such as business, business news, business insider, and others, you can combine them to create a single category.
Note: Domains will remain empty if RSS feed URLs are not provided.
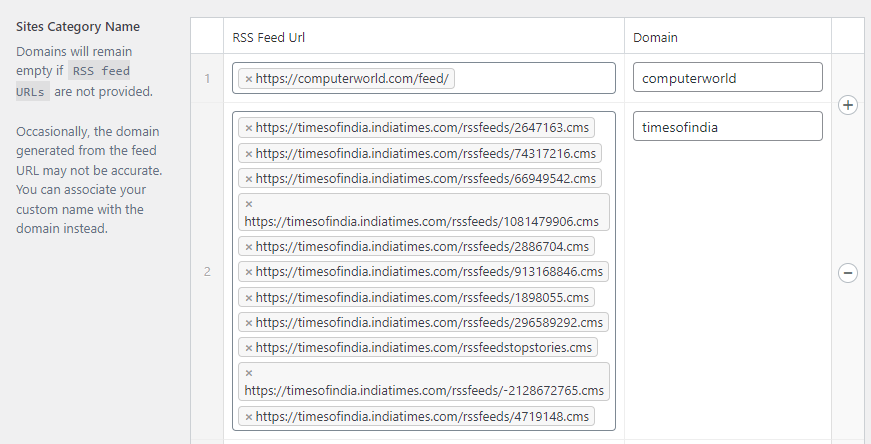
Occasionally, the domain generated from the feed URL may not be accurate. You can associate your custom name with the domain instead.
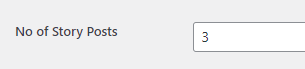
Specify the number of posts to display in the story.

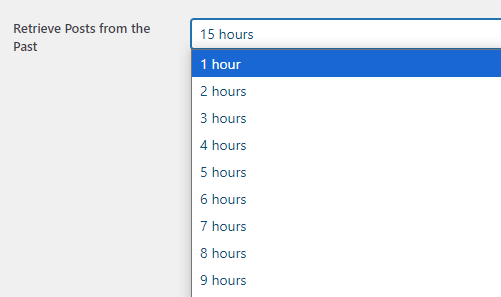
Set the time range from which posts should be retrieved.
Choose the number of videos to display on the homepage. These videos will be selected randomly. If you have a large collection of videos, a new video will appear with each refresh.
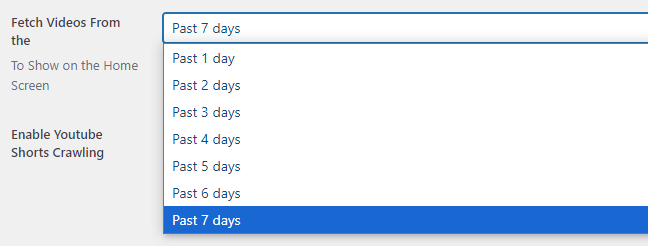
If you fetch a large number of videos daily, you can opt to display videos from the past day. However, if you fetch fewer videos, it’s better to select a longer timeframe, such as the past 7 days.
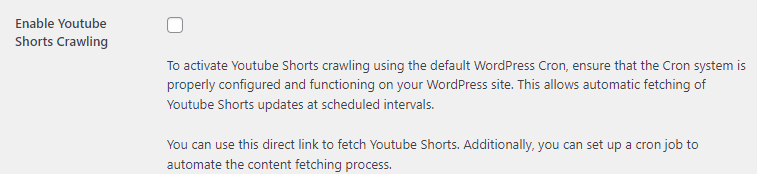
When enabled, this feature will periodically crawl YouTube Shorts at specified intervals and retrieve links from the YouTube page.
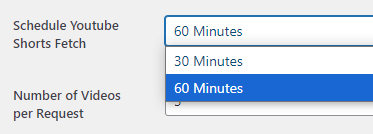
Choose the interval at which the YouTube Shorts page should be crawled.
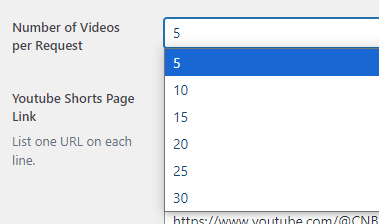
Retrieve a specified number of videos per request. Keep in mind that a higher number will require more resources.
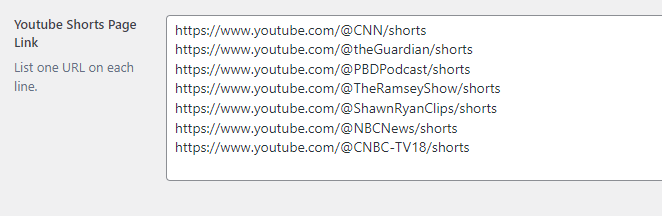
Paste each YouTube Shorts link on a new line. The more links you add, the more videos will be available for display.
By default, tags are displayed on the news detail page. You can choose to hide them if you prefer not to show them.
You can exclude specific tags from being displayed. To do this, list the tag names individually on separate lines. Any tags listed will not appear on the news detail page.
If a user reports news, you will receive an email containing the details of the reported news. If empty admin email will be used.
You can select from Trending or most used tags to display in the search section.

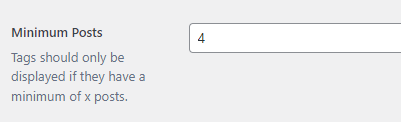
Tags will only be displayed if they have a minimum of x posts.
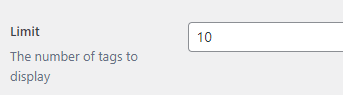
The number of tags to display


https://fcm.googleapis.com/v1/projects/topstories/messages:send Replace topstories with your actual project ID.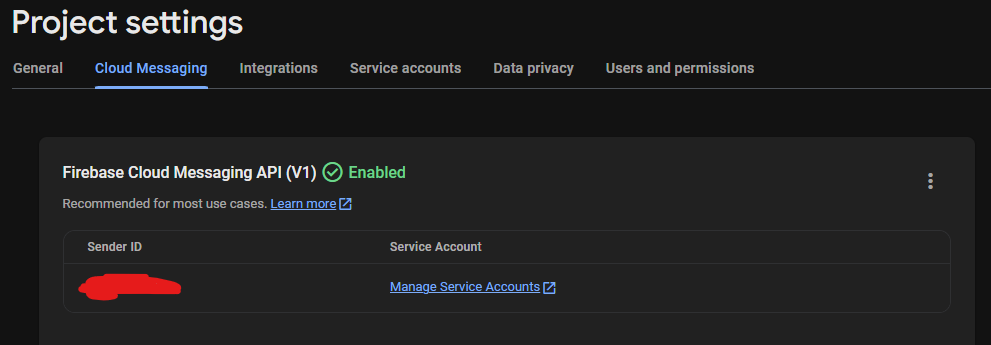

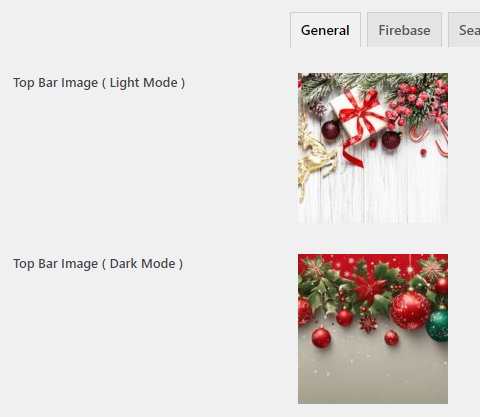
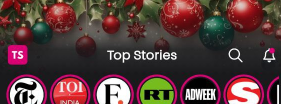
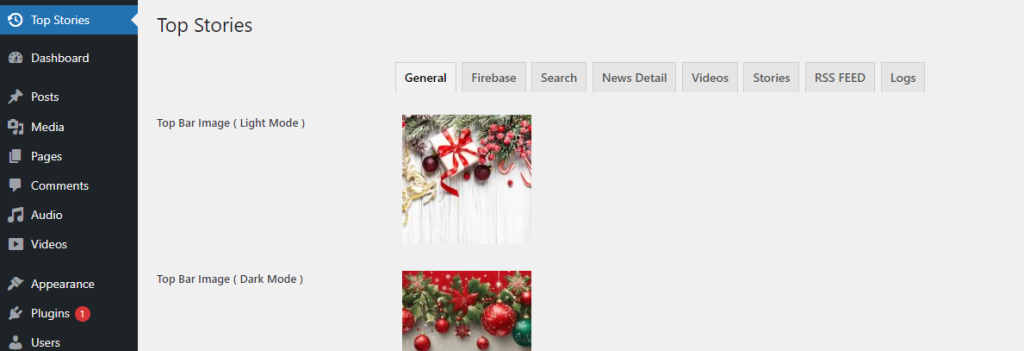
You can display an image on the top bar of the app, which is especially useful for highlighting special events or occasions such as New Year, Christmas, or Black Friday.
Preview
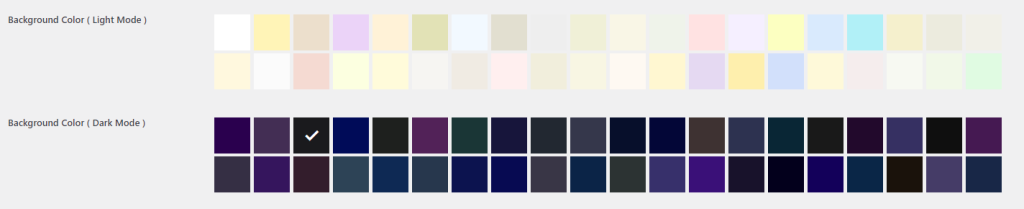
Select your app’s theme color using our color selector.

Choose the background color for the app, with options available for both light and dark themes.
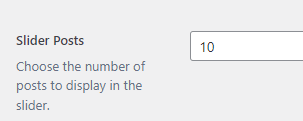
Choose the number of posts to display in the slider.
Preview
Fetch posts from the past (x) days to display in the slider.

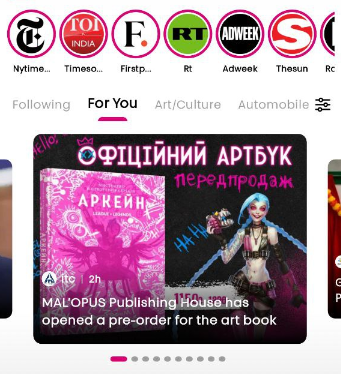
You can opt to display either the post category or the source news site from which the news was obtained.
From the main_files/wp folder, you will get a extend-wp-json-api.zip file.
Go to your WordPress Admin Dashboard > Plugins > Add New > Upload Plugin.
Upload the plugin and activate it.

After that, You will see a Top Stories Menu option at the left bar of your WordPress admin dashboard. You can control and customize the app with that.
If you are using any cache plugins like LiteSpeed Cache or others then clear the cache after saving the configuration.